How to tape your hockey stickUpdated a year ago
There are many ways to tape a hockey stick blade and handle, and pretty sure each player will soon have their style and preference on how to tape their stick.
Not all tapes are the same. It's best to use a tape that unwinds evenly from the roll and is sturdy enough to resist moisture and abrasion without being bulky. The tape serves to protect the blade of the stick from chip and puck marks and will give a better "puck feel" when receiving a pass or taking a shot.
The most common type of hockey tape is made of cloth, and while there are some patterned tapes, as the skill level rises, the most commonly used will be black or white tape. White tape on the blade allows you to see the puck clearly while Black tape is often used by more experienced players to camouflage the puck, making it harder for the opposing team's players and goalie to see it. Goalies, on the other hand, always use white tape on the blade of their paddle because they need to see where the puck is!
Check out this video to unlock tips on how to tape your hockey stick.
Tape on the shaft and handle of the stick provides a sure grip, especially for the upper hand, which controls the stick and helps your child handle the puck. You only need to tape down about 1 ½ glove lengths, leaving the lower hand able to slide on the shaft easily.
On a quick note, White tape is less likely to leave marks on the palm of your glove than black tape. Otherwise, the color of the stick handle is a personal preference.
TAPING THE BLADE
Using either white or black tape, you will be starting from the heel of the blade and working your way to the toe. By going in this direction, the tape will lie flat on the bottom of the blade and be smooth on the ice.
Hold the stick with the blade front up and facing you in your non-dominant hand. Using the other hand and starting at the backside of the blade, affix the end of the tape on the blade and bring the roll of tape over the top of the blade and down the front. Continue to circle over and around the blade, keeping the tension on the roll of tape as you go around, overlapping each layer of tape by about ¼” (0.6 cm).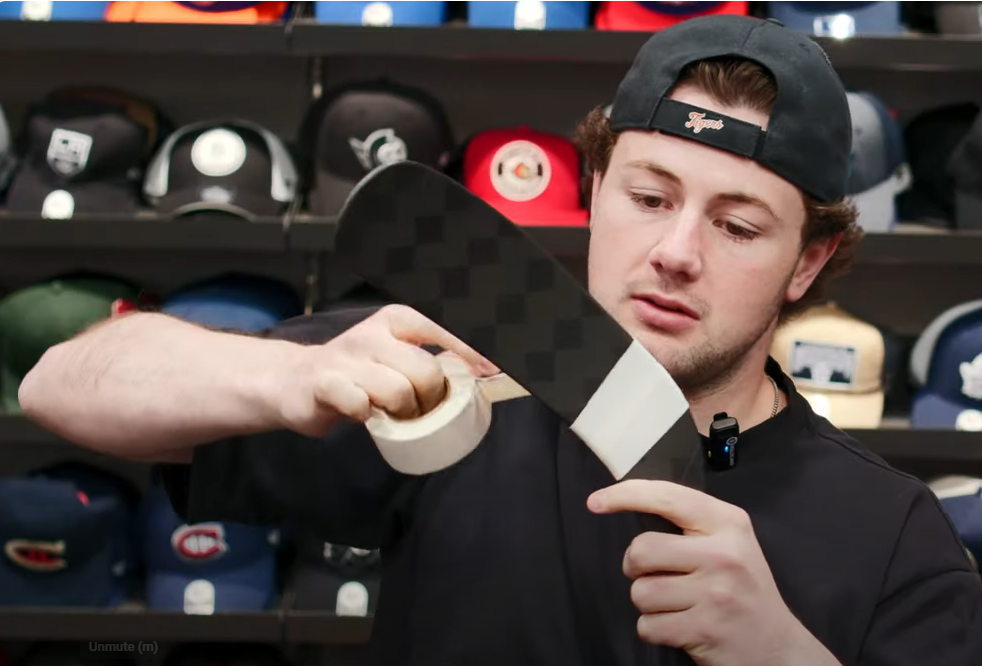
Continue towards the toe of the blade until you have about 2 inches (5 cm) of blade left showing. The most important thing is to apply the tape as smoothly as possible all the way so that there will be no friction on the bottom, and no weird puck bounces off wrinkles.
TAPING THE HANDLE
Start by going around the very end of the tape several times to create several layers of tape. This makes the knob that will help keep the stick end from slipping through your child’s glove. Players only need enough of a bump to provide a barrier, but goalies will need a much bigger knob on the end of their stick to reduce the chances of dropping it at the crucial moment.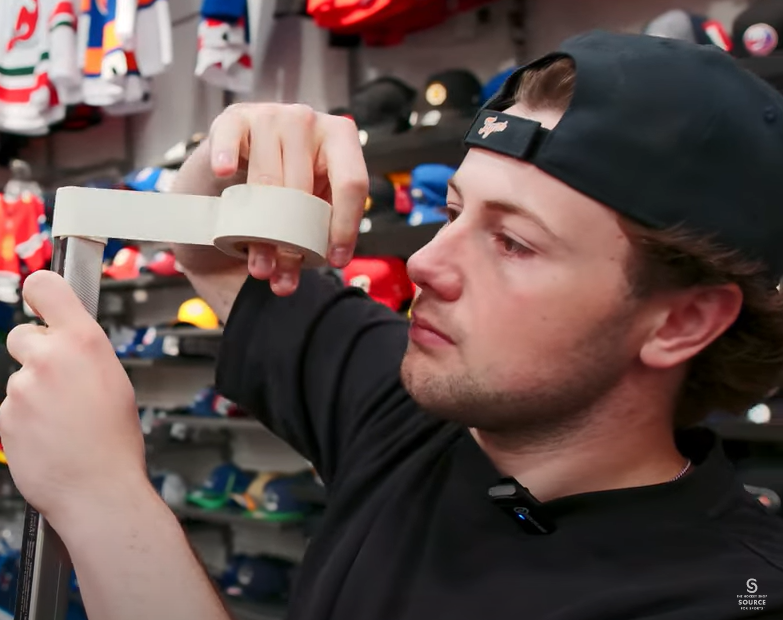
In the same manner as the blade, continue to spiral down the stick handle, carefully overlapping each layer by about ¼ inch. End the tape once you have reached an area that is approximately 1 and ½ glove’s length with a final, even revolution.
Some young players will have their stick taped with an extra “grip” ridge. This is achieved by pulling out a length of tape (3 ft / 91 cm), letting the roll create weight at the bottom, and twirling it to create a rope. This is then applied in a loose coil from the point in the shaft where you want it to end, and winding up to the top where you will begin to create the knob. You will then continue in the overlap fashion back down the shaft, covering the tape rope. This method will help you have more grip on the stick but will interfere with the ability to slide your hands.
You will need to remove and reapply the tape when it shows wear, especially on the bottom of the blade. For a new player, this could be every few games. For an elite player, this could be during a game.